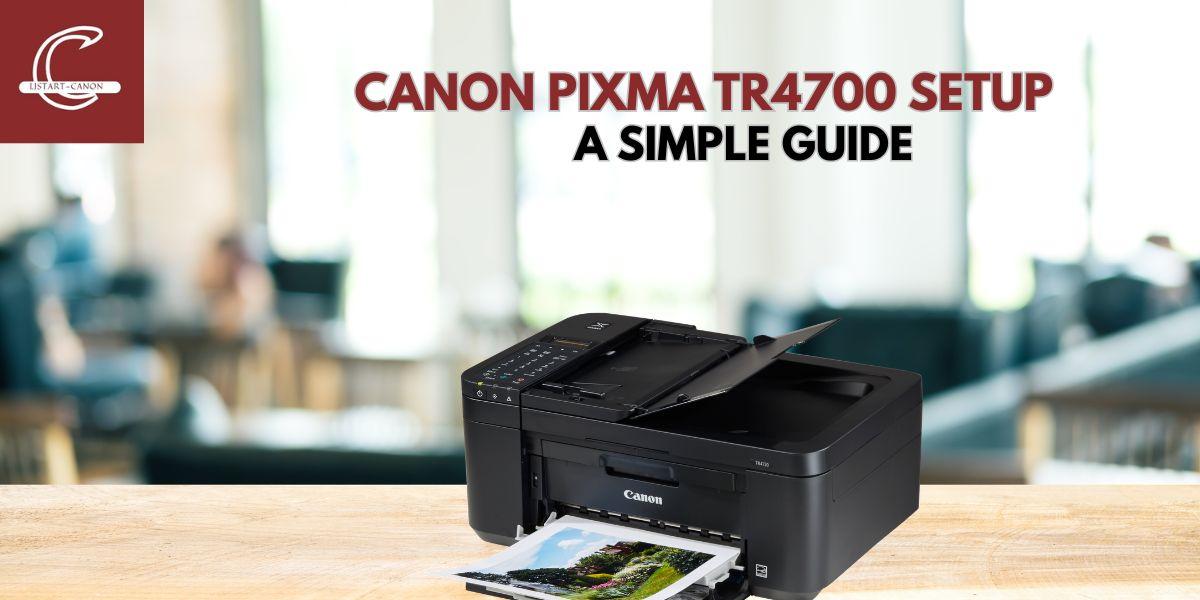
Canon Pixma TR4700 Setup: A Simple Guide
People who want to establish their printer connection can do it easily. The Canon Pixma TR4700 Setup process starts with proper procedures which lead to fast results. The guide provides simple instructions which help users begin their work.
🔹 Steps for Canon Pixma TR4700 Setup
1. Unbox and Power On
The user should remove all packaging materials before they start to power the printer by connecting it to electricity and pressing the power button.
2. Install Ink Cartridges
The user needs to open the front cover before they can insert the cartridges which come with their printer.
3. Load Paper
The user needs to adjust the paper guides before they can place plain A4 sheets in the input tray.
4. Download Printer Driver
Go to https //ij.start.canon and search for your printer model TR4700. The recommended drivers need to be downloaded and installed.
- The user should press the Wireless button on their printer.
- The user should launch the software which they previously installed on their computer.
- The user needs to select their WiFi network while they enter the password.
- The user should wait until the system has finished confirming their connection status.
6. Test Print
The user needs to print a test page which verifies that all system components are functioning correctly.
✅ Conclusion
The Canon Pixma TR4700 Setup process becomes easy for users when they follow the provided steps. The canon printer wifi setup process at https //ij.start.canon enables you to print wirelessly from your home or office without facing any difficulties.